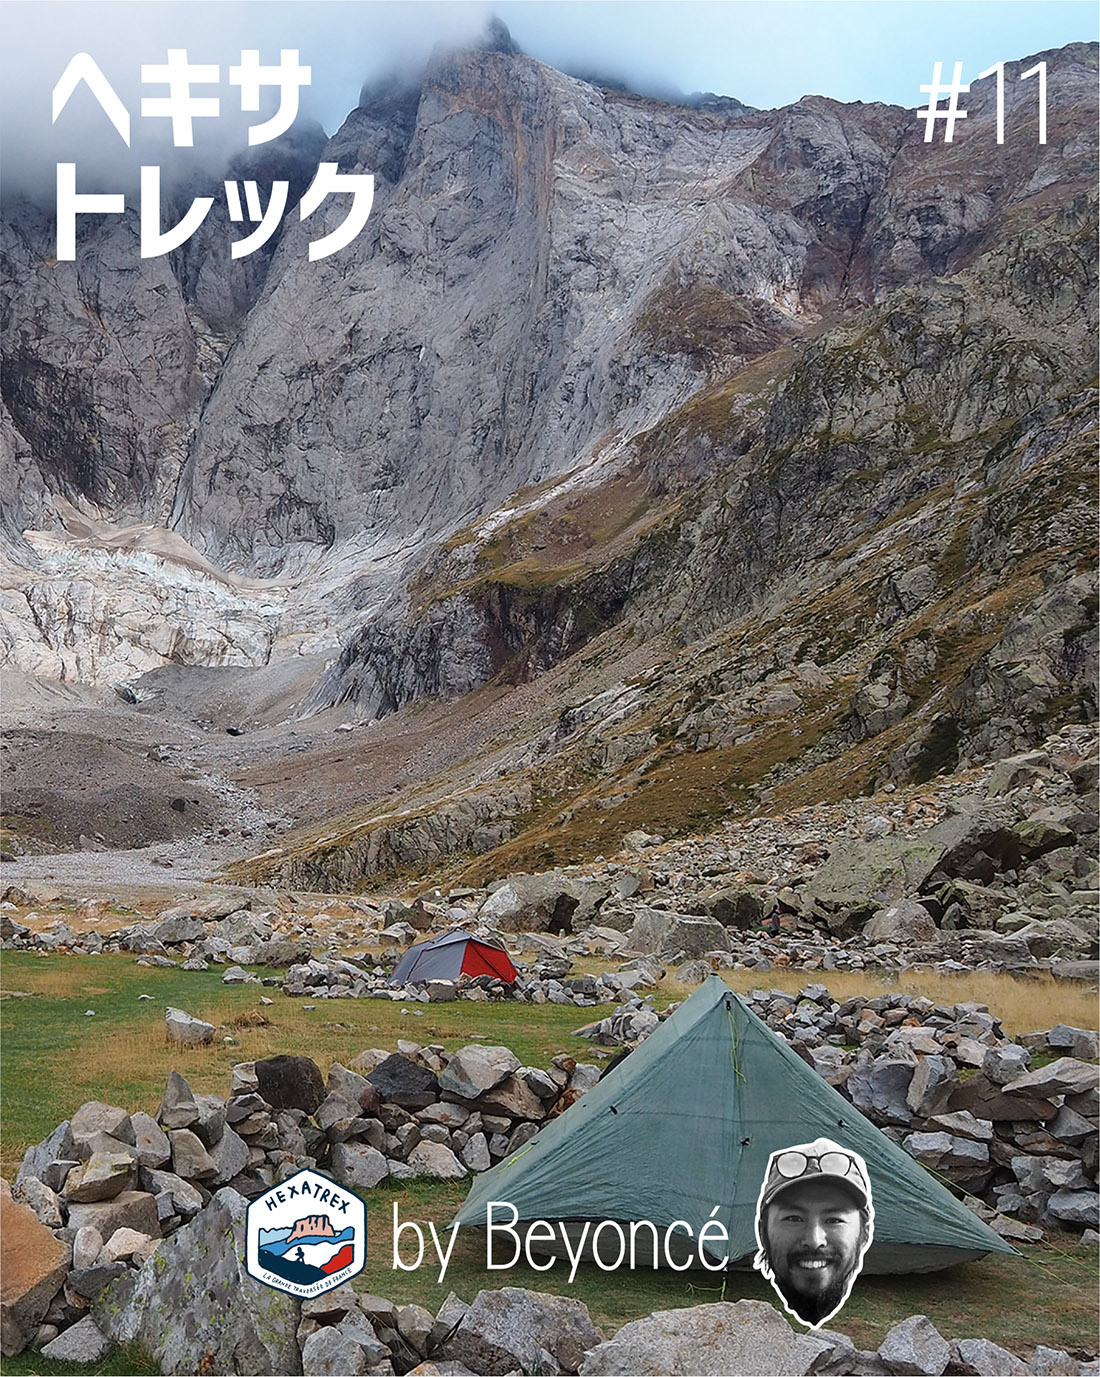
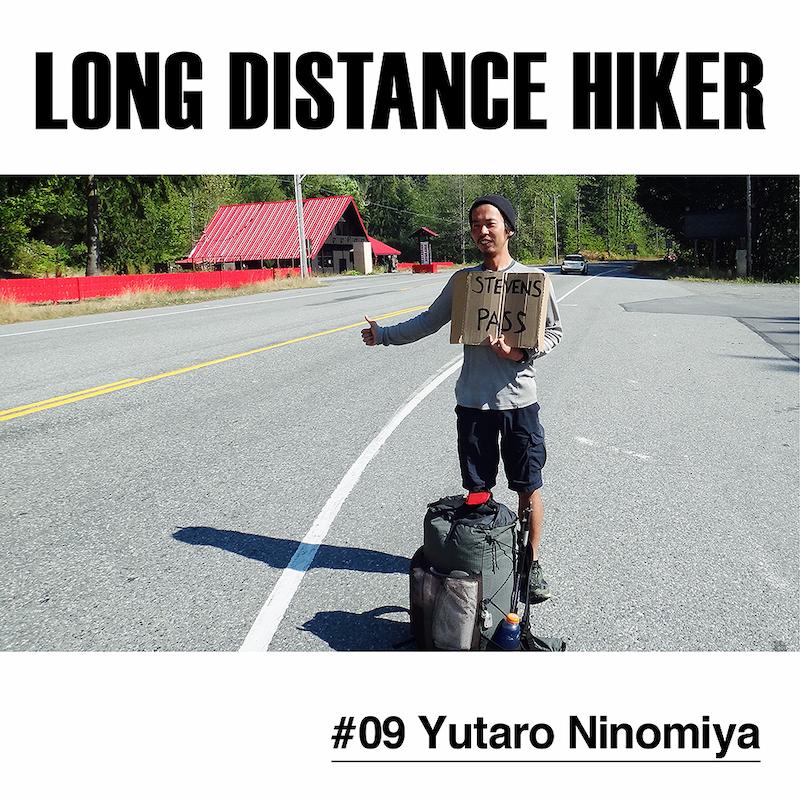
take less. do more. 〜 ウルトラライトとMAKE YOUR OWN GEAR by グレン・ヴァン・ペスキ | #09 グレート・ディバイドでのバイクパッキングのために設計したMYOGフレームバッグ。
MYOG Frameback
Custom Gravel Bike Frame Bag for the GDMBR
It was my birthday, and Mike and I had been looking forward to a birthday brunch in Wise River, Montana. Mike is a neighbor across the alley in Bend, Oregon, who my son Brian terms my “main adventure buddy.” A couple of years ago, we were talking in the alley, and he expressed a desire to do a big bike adventure and mentioned the Great Divide.
The Great Divide Mountain Bike Route (GDMBR) is a route from Banff, Canada to Antelope Wells, New Mexico, traveling almost 5,000 kilometers along mostly gravel and dirt roads. We hatched a plan to ride from Banff to Jackson, Wyoming along the GDMBR. Originally planned for 2020, Covid-19, along with me going over the handlebars on a training ride, postponed the trip to 2021, and the starting point became the Canadian border.
So, here we were in Wise River, day 17 on the road, riding up to the Wise River Club for a birthday breakfast. Then we saw what was by now a familiar sign taped to the door indicating that they were operating limited hours due Covid staff issues. My birthday was not included in those limited hours.
The last time I had a birthday on a bicycle trip was in 1976, when I rode my bicycle 6,700 kilometers across the Unites States. In the intervening decades, I had focused more on backpacking than bicycle trips. So, when Mike proposed a bikepacking trip, I faced a considerable learning curve. I was pretty confident about the camping part of bikepacking, but the 900+ miles of day-to-day traveling between the campsites was going to be all new.
Naturally, I wanted to minimize the weight of my gear. It’s just the way I think—about life in general, and travel in the backcountry, in particular.
On a bicycle, with the advantage of wheels and gears, weight doesn’t carry quite the same penalty as when it’s on your back, experienced with every step you take. However, on a trip like the Great Divide—which included roughly 15% uphills, 20% downhills, and some sketchy single-track, including deep ruts filled with rocks and roots—lighter is still better. Especially when you’re hoisting your full-loaded bike over a fallen tree.
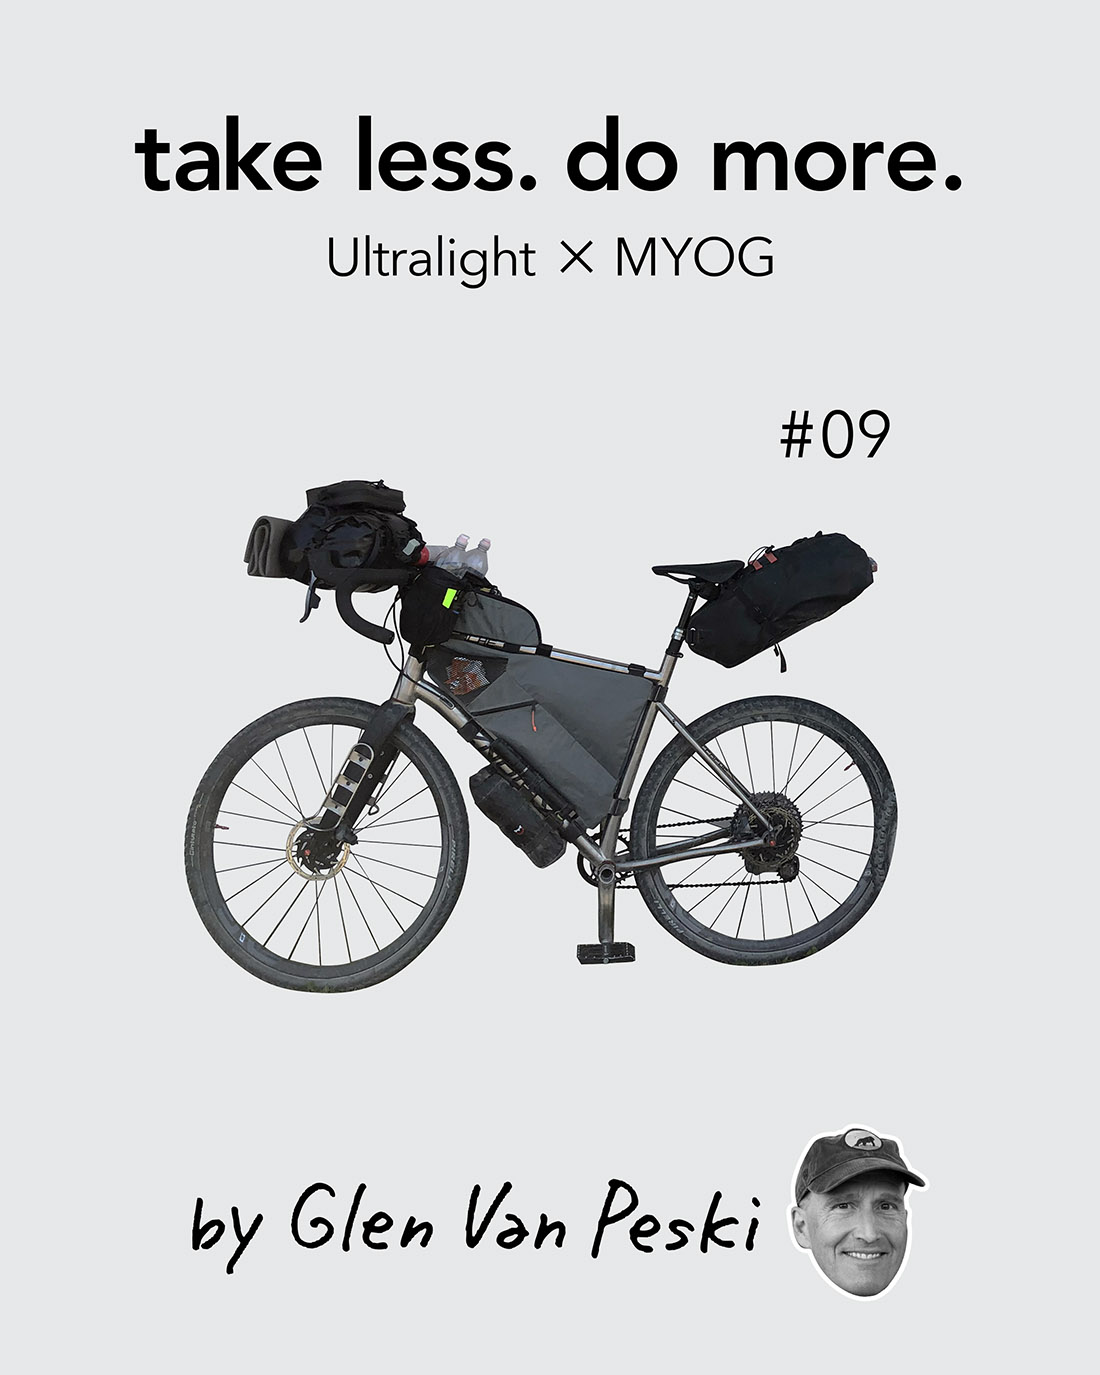
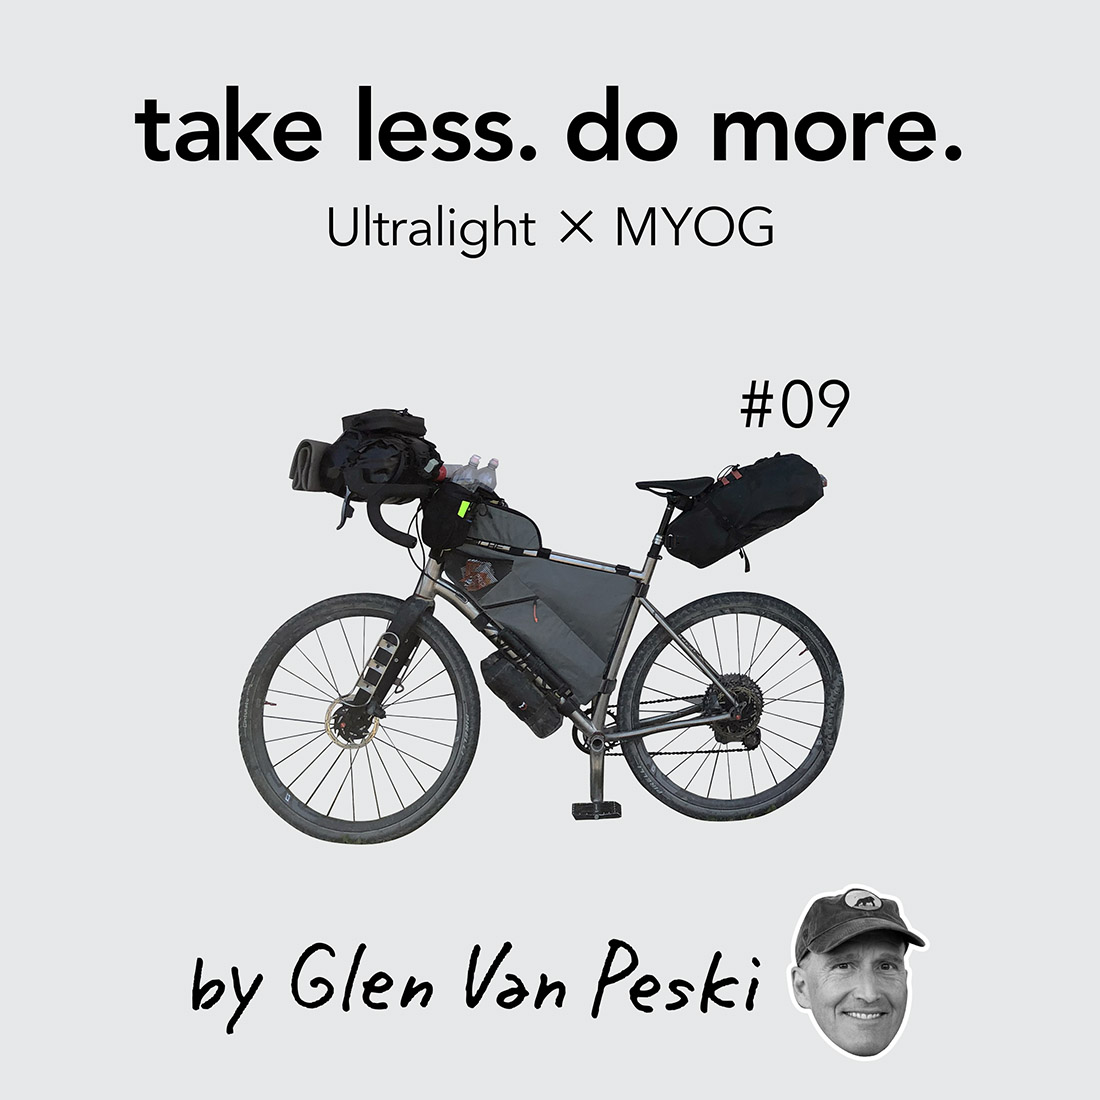
My first surprise was the number and weight of the packs required to carry the gear. I can fit everything I need for a backpacking trip into my 200 g. Murmur. I wanted to avoid the weight of racks and panniers, and didn’t want to have to carry a backpack while pedaling, but still ended up with the following bags on my bike:
Hand-sewn frame bag
Salsa cockpit bag
Salsa EXP Anything top load handlebar bag
Salsa EXP front pouch
Revelate Designs Terrapin 16L seat bag
2 Revelate Designs feed bags on the handlebar stem
Revelate Designs Joey bag on down tube
The total weight of these bags, with the cradles and mounting hardware, was over 2 kg.! I’ve been backpacking with a base weight below that.
Over the years, I have honed the organization of my Murmur for backpacking trips. But, optimizing gear placement for bikepacking was more complex, including having to consider the:
Weight (wanting to keep the weight low for better stability, and not too much weight on the handlebars to avoid handling issues)
Volume (bags have limited volume)
Accessibility (how often I anticipated accessing an item, how quickly I wanted to be able to access an item, and what time of day I would be accessing the item)
After some trial and error, I ended up with a system that worked well for the entire trip. The handlebar roll bag contained my sleeping bag, with room for a few dehydrated dinners. The handlebar easy access bag contained my large stake (used as a trowel) and hygiene kit, Garmin InReach, paper maps, small items bag. The small cockpit bag held my bike repair items and water filter. The feed bags contained two 1-liter bottles with flip tops. The seat bag held my cooking kit, bike repair/cleaning items, up to five days of food, and clothes not in the frame bag. My 170 g. prototype tent (which later became the Gossamer Gear Whisper, as described in Trails Magazine Article #08), Polycryo ground cloth, and tent stakes lived in the Joey bag on the underside of the down tube. The frame bag had multiple compartments, and held rain gear and other clothing layers for the day, tent poles, Chopstakes, first aid, 2+ liter platypus (for additional water storage, seldom full), and bike lock.
Part of being able to come up with an efficient bike camping setup was being able to design a custom frame bag. Since every bike has different geometry, any commercially-available product has to compromise on sizing, which reduces its capacity and usability. I was able to design a frame bag that fit exactly into my bike’s main triangle.
One consideration was making sure that the frame bag had enough width to hold everything it could, but didn’t puff out on the sides to where it impeded my pedaling by rubbing on my legs. Often commercial models solve this with heavy, stiff fabric. But since the frame bag wasn’t going to be subjected to a lot of abrasion or stress, I wanted to minimize the weight. I experimented with having hard, thin and light plastic panels on the sides, but this proved problematic for construction, and meant that I needed double layers of fabric to hold the panels in place.
The maximum useful volume would be achieved with one huge compartment, but this posed a couple of issues. First, the gear would tend to settle in the large compartment, and make the sides puff out. Second, accessing what I wanted would be problematic, as it might be at the bottom of the huge compartment.
I needed some flexibility, because some of the stretches required large water carries, where other times water was plentiful. Water is heavy, so when I had to carry extra water, I wanted to carry it low on the bike, for stability when navigating rough dirt roads and obstacles.
My sketch dated 21 Feb 2019 shows my initial thoughts and questions. I figured that having a divider between the two sides would keep them from puffing out and impeding my pedaling. But I also figured that if I made it attached on one of the sides with hook and loop, then if I needed the entire inside capacity for a short stretch, it could lie flat inside the bag.
The final design featured:
Three compartments for organization through the use of a small vertical divider and a larger divider parallel to the down tube. Both dividers can be detached on one side to allow the use of one large compartment. The longer divider has hook and loop to attach it in a stowed position so it doesn’t interfere with access to gear, or hook onto clothing.
One small compartment in the front, for easy access to snacks, etc without opening the entire bag.
One small outside mesh pocket to stow a few snacks, up front for easy access and so it didn’t interfere with pedaling.
Separate zipper to access the long compartment parallel to the down tube. This compartment is sized to accept a 2+ liter Platypus container filled with water, keeping the weight low, and the water secure. When not needing the extra water (I carried two 1-liter bottles on my handlebars), the Platypus could be rolled up and other items stored in that compartment.
Hook and loop on the inside of the top of the bag, for attaching segmented tent poles, to keep them out of the way, but handy when needed.
Attachments with looplocs and wide hook and loop, allowing me to securely attach the frame bag to the bike frame with some tension.
Flat-felled internal seams to minimize fraying and making access easier.
Waterproof zippers to minimize water intrusion from summer thunderstorms.
X-Pac material for sides, to provide stability at minimum weight.
One continuous fabric piece for the edge, to minimize failure points. Used heavier X-Pac to eliminate any issues with abrasion, and to gain the advantage of additional stiffness.
This design worked well for this trip in 2021, and a subsequent trip in 2023. Even after a food resupply, I had enough room to fit everything on my bike. Wise River was one of those resupplies.
Dejected that we weren’t going to get my birthday breakfast, we picked up our food boxes at the post office, and went to H Bar J Café to use their outside tables to sort our food. As we were getting ready to pedal off after sorting and stowing our resupply, a lady with keys came up, and said she was opening up. We ended up having a birthday lunch in lieu of breakfast, and when the waitress learned it was my birthday, she made us a free cocktail at the bar. We continued down the road with full bellies and overflowing hearts.
- « 前へ
- 2 / 2
- 次へ »
TAGS:


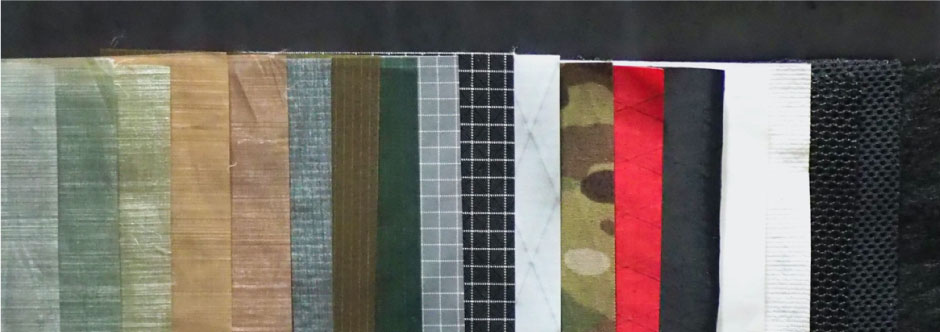
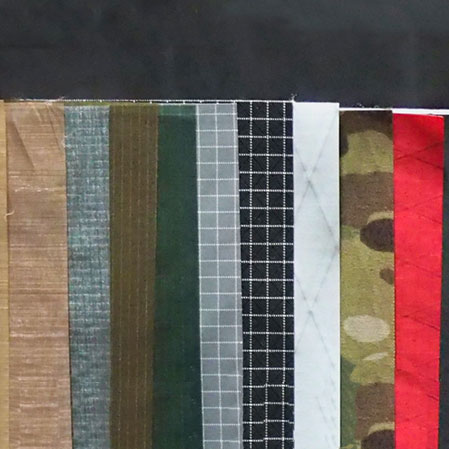
 ULギアを自作するための生地、プラパーツ、ジッパー…
  Tenkara USA | RHODO (ロード)
  Tenkara USA | YAMA (ヤマ)
  Tenkara USA | Rod Cases (…
  Tenkara USA | tenkara kit…
  Tenkara USA | Forceps & …
  Tenkara USA | The Keeper …
  Tenkara USA | 12 Tenkara …
  Tenkara USA | Tenkara Lev…